
The roof of a house, often overlooked, serves as an essential barrier against the natural elements, protecting the inhabitants and the home’s structure. The significance of regular roofing inspections cannot be overstressed. Routine checks help in the early detection of minor issues, like broken shingles, loose seals, or clogged gutters, which if left unattended, can escalate into significant damages leading to hefty repair costs.
Regular inspection also ensures that your roof stays in optimal condition, prolonging its lifespan. Plus, an efficiently maintained roof contributes to energy conservation by optimizing temperature regulation in your home. The DIY inspection process involves thorough safety precautions, comprehensive exterior and interior assessments, gutter and vent examination, evaluating the state of your chimney and skylights, and identifying potential structural issues. In this guide, we’ll take you through each step, making sure you’re equipped to perform a detailed and effective roof inspection on your own.
Safety Precautions
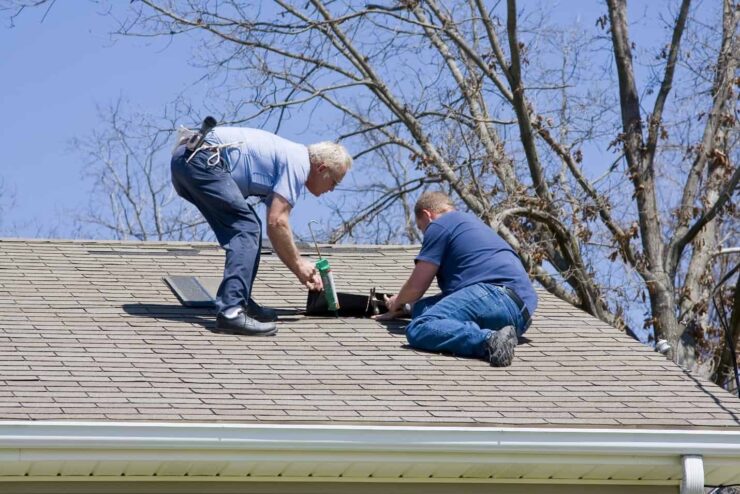
Prior to starting your DIY roof inspection, it’s paramount to ensure safety, as mishaps during roof inspections can be dangerous. Begin by investing in appropriate safety gear. This includes a good-quality safety harness, rubber-soled shoes to prevent slips and falls, safety glasses, and a hard hat. These safety measures help reduce the risk of accidents, allowing you to focus on the task at hand.
A sturdy, reliable ladder is essential. Make sure it’s positioned on a flat, stable surface and extends at least three feet over the roof edge for secure access. Always have a second person around when you’re climbing onto the roof. They can hold the ladder steady and be on alert for any unexpected incidents. Never inspect your roof under adverse weather conditions, such as high winds, rain, or snow, which significantly increase the risk of accidents.
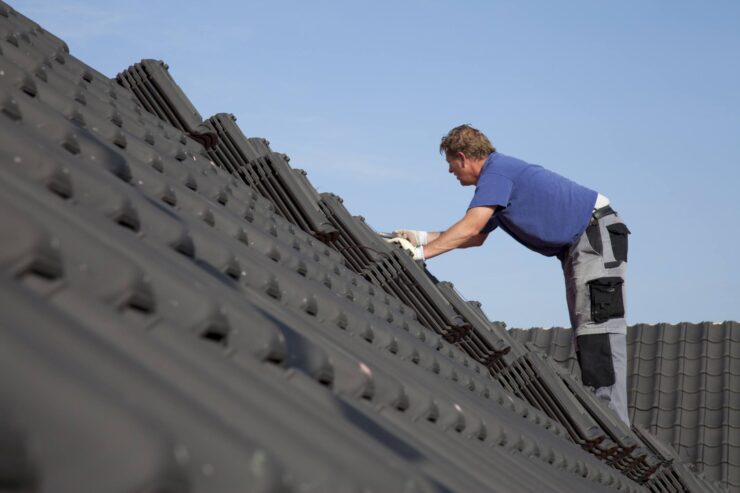
Exterior Inspection
Starting with the exterior inspection, focus on the state of your shingles. Damaged or missing shingles expose the underlayers of the roof, potentially allowing water to seep through, causing dampness and leaks. Be on the lookout for cracked, curling, or missing shingles. If a significant number of shingles are damaged, you might need professional help to replace them.
Inspect the flashing around your vents, chimneys, and other roof projections. Flashings are susceptible to damage, and any cracks or breaks can allow water to creep in, resulting in leaks. Also, check for signs of rust and corrosion. Flashings should always be well-sealed and firmly in place. If not, they should be replaced or fixed promptly.
Interior Inspection
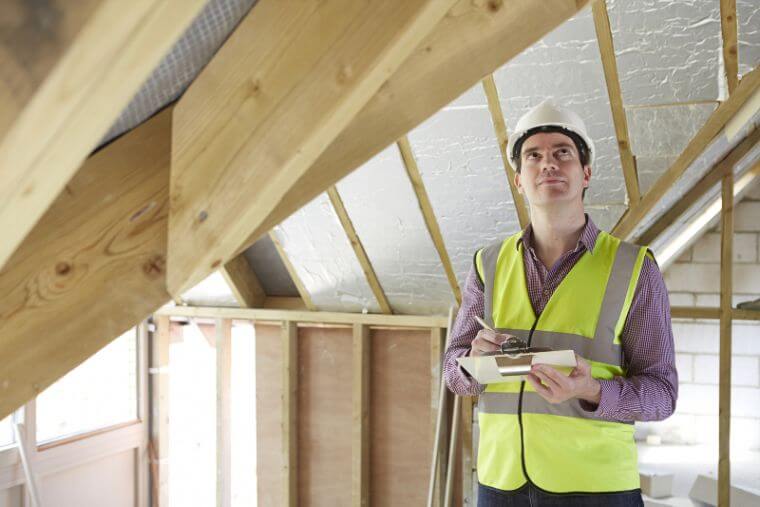
Upon completing the exterior inspection, move to the attic for the interior assessment. Look for signs of water damage like stains or discolorations on the ceiling and walls, which can indicate potential leaks. Wet or damp insulation is another sign of water seepage that shouldn’t be ignored.
Pay attention to any mold or mildew growth in the attic. These are not only hazardous to the structure of your home but also to your health. Ensure your attic has proper insulation and ventilation. Inadequate ventilation can cause heat buildup in summer and moisture accumulation in winter, causing further roof damage. If you’re interested in the ins and outs of roof inspection or you simply want to hire a professional roofing company to do your bidding you can read more here.
Gutter Examination
The gutters and downspouts are crucial components of your roofing system. Their primary function is to channel water away from the house, preventing water damage. A crucial part of your roof inspection involves cleaning the gutters and checking for any blockages caused by leaves, twigs, or other debris. Clogged gutters can cause water to back up, damaging your roof and walls. Water should be able to flow freely through the gutters and drain a safe distance away from your house’s foundation.
Chimney and Skylight Assessment
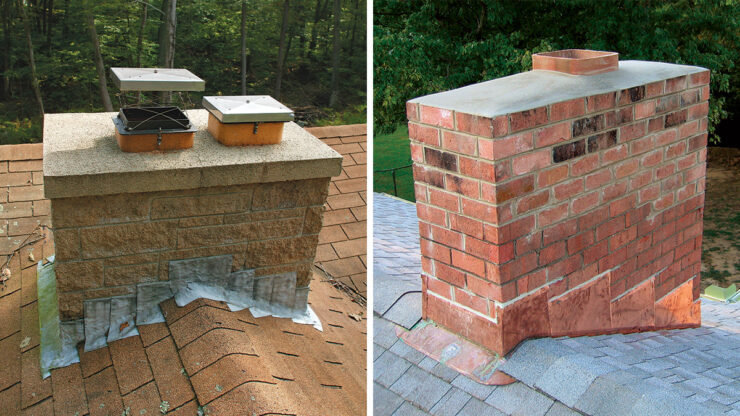
Your chimney and skylights need special attention during a roof inspection. Check the bricks and mortar of your chimney for any cracks or deterioration. Loose bricks can let water in, leading to dampness and mold. Similarly, look at the flashing and seals around the chimney and skylights. Any gaps can provide an entry point for water, leading to leaks.
Examine your skylights for any cracks, scratches, or other damages. Faulty skylight installation or damage can lead to leaks, drafts, and increased energy costs. Repair or replace damaged skylights to maintain your roof’s integrity and home’s energy efficiency.
Roof Vent Inspection
Roof vents play a vital role in maintaining proper attic ventilation, which helps prevent heat buildup in the summer and moisture accumulation in winter. Blocked or damaged vents disrupt this balance, leading to potential roof damage. During your roof inspection, ensure that the vents are clear of debris and functioning well. Also, check for signs of animal or insect intrusion, as pests can cause considerable damage.
Roofing Material Evaluation
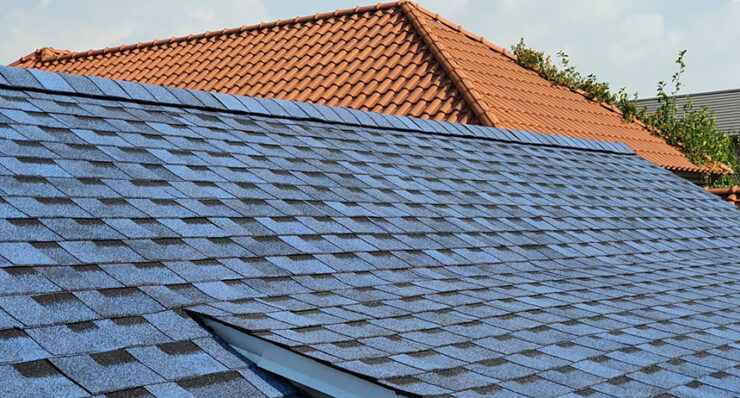
The condition of your roof will largely depend on the type of material used. Understanding this can guide your inspection and maintenance plan. For instance, while asphalt shingles may need replacement after 20 years, slate roofs can last over 100 years with proper maintenance. Observe your roof for signs of aging and wear, such as discoloration, curling, or blistering, which could indicate the need for repair or replacement.
Identifying Structural Issues
Watch for any sagging or uneven areas on your roof as these are signs of underlying structural issues. Also, the roof’s support structure in the attic should be checked for signs of termite damage, rot, or moisture damage. These issues can severely compromise your roof’s structural integrity, making it unsafe and necessitating immediate professional attention.
Documenting Findings
Documenting your findings is a crucial part of your DIY roof inspection. Maintaining a detailed log of issues you’ve identified, along with their dates and locations on the roof, can help track changes over time. Photographs can be immensely helpful, providing a visual record that can be used for comparison in future inspections or to show to a professional roofer when needed. Staying organized in your documentation process will ensure that no problem goes unattended.
Addressing Minor Repairs
Addressing minor issues as they arise can save you from facing significant problems down the line. Some small repairs, like replacing a few shingles or sealing minor leaks, can be performed as DIY tasks if you’re comfortable doing so. Always have the necessary tools and materials on hand. However, for larger or more complex issues, or if you’re ever in doubt, don’t hesitate to call a professional. Some tasks are best left to the experts to avoid causing more harm than good.
Creating a Maintenance Plan
Creating a regular maintenance plan is key to prolonging your roof’s lifespan and maintaining its efficacy. Plan for at least two inspections a year – in spring and fall. Also, consider additional checks after severe weather events. Keeping a detailed checklist based on this guide and tailored to your home’s specific requirements can be useful in ensuring a comprehensive inspection each time.